Keeping an Eye on Wheel Hardware
Article | 10/23/2017 by Brandon Kimbell
Updated on 09/23/2024
When performance driving enthusiasts plan out general maintenance or modifications for their beloved machine, wheel hardware is often a topic that is overlooked. While it is apparent to most drivers, especially track junkies, that brake components, bushings and tires wear out over time and must be replaced, many enthusiasts do not realize that wheel hardware is also considered a consumable component, or a component that has a relatively short lifespan in relation to the vehicle. Wheel hardware is not a glamorous topic nor is it overly complex in nature, however it does play a vital role in the car’s ability to operate safely and effectively. Similar to the other consumables mentioned, wheel hardware is subject to a number of stressors; from enduring vibrations and impacts to exposure to the elements. They also sustain constant levels of torque which are applied and unapplied during the mounting and dismounting process. There are multiple levels of failure that can occur with wheel hardware, ranging from minor cross threading to catastrophic shearing, and it is for these reasons it is imperative to manage and monitor the amount of stress put on your wheel hardware. The point of this article is not to over dramatize the topic of wheel hardware or the attention it deserves, rather our mission is to provide informative content in regards to the different types of wheel hardware and their respective life expectancy, the installation and operation of each, and some best practices to adhere to along the way.
Extended Wheel Studs vs. Traditional Lug Bolts
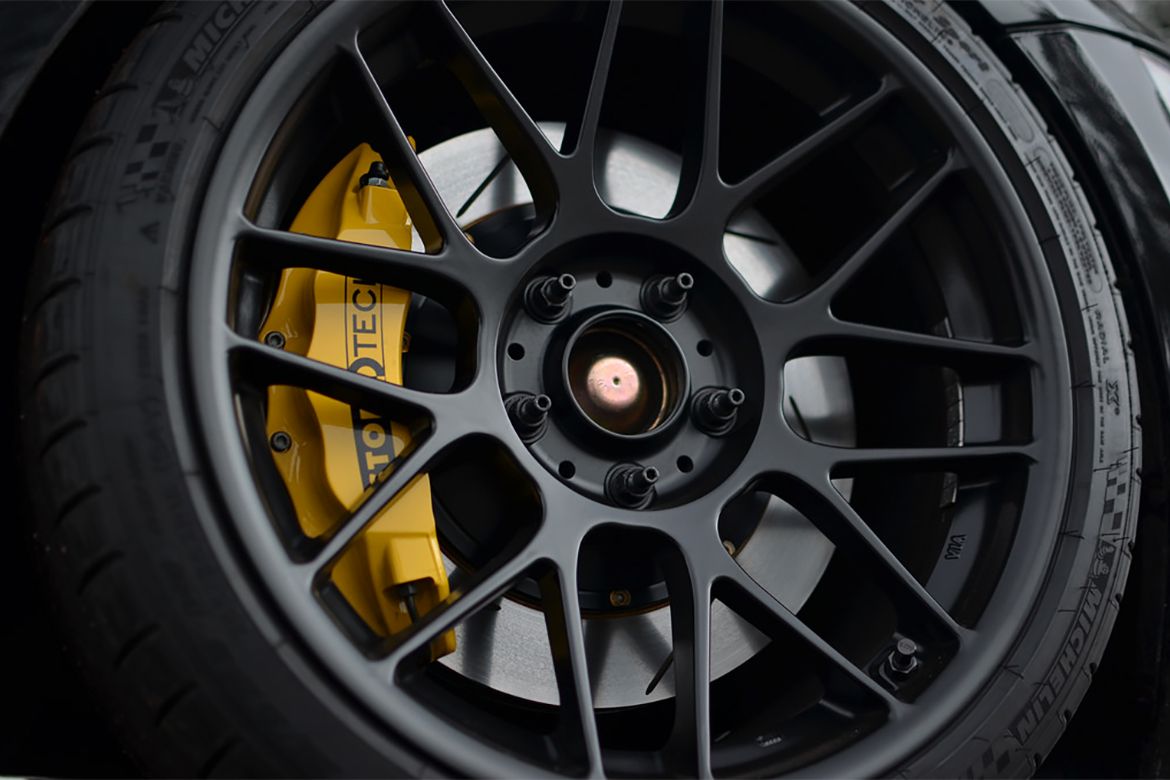
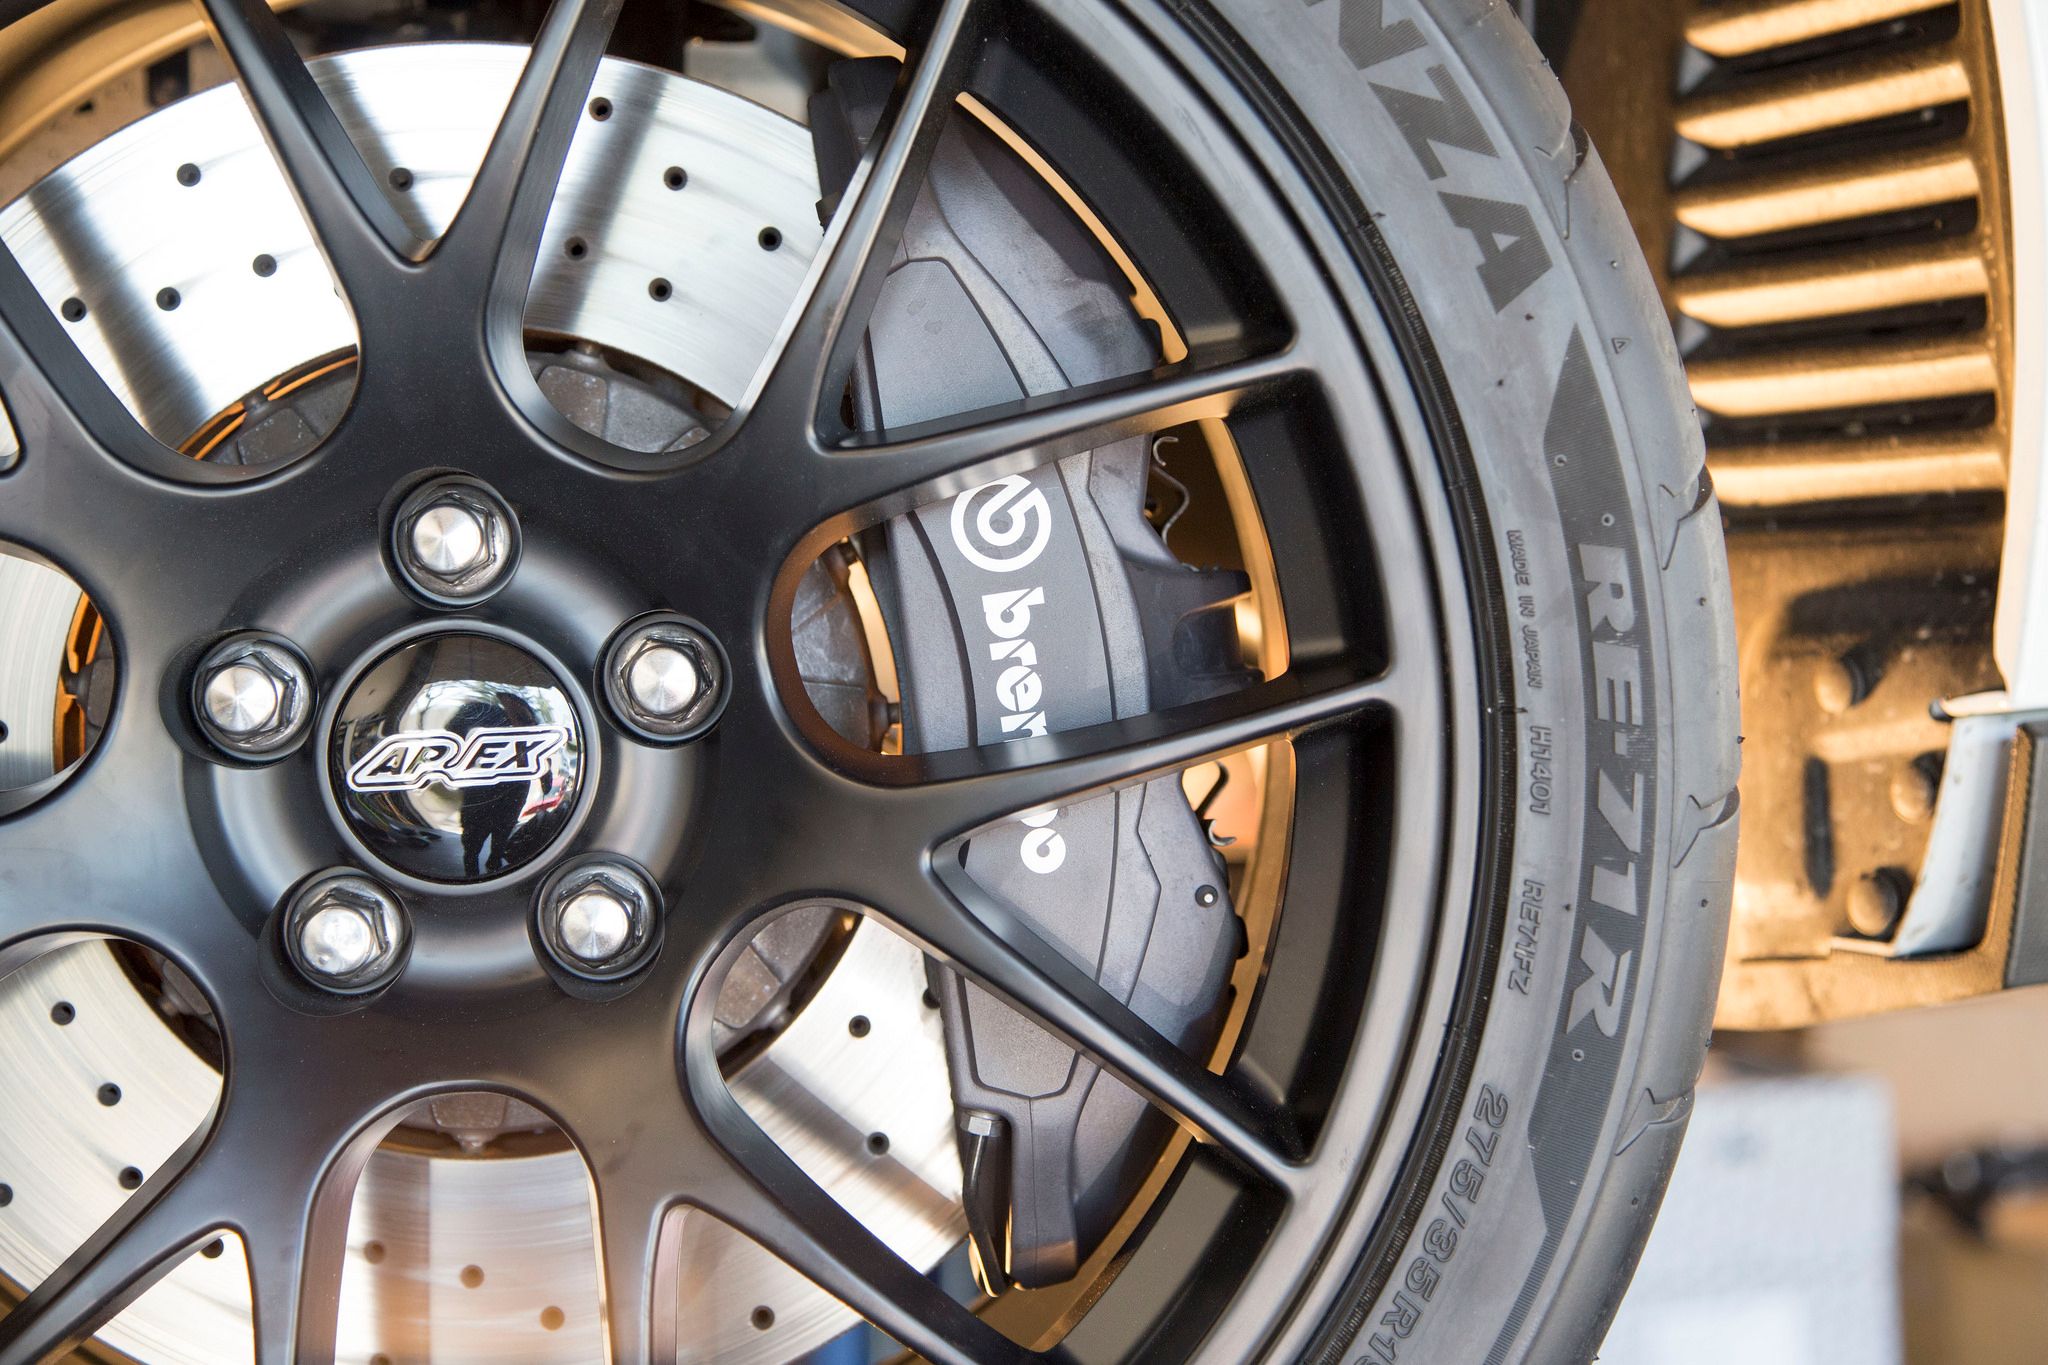
Unless you pilot a car equipped with centerlock wheels, there are two common types of wheel hardware (https://www.apexraceparts.com/accessories/lug-bolts-nuts-wheel-locks.html) found on vehicles today. Many German auto manufacturers like BMW and Porsche use traditional style lug bolts to secure wheels to each corner of the vehicle. When using this type of wheel hardware, a wheel is mounted to the naked hub assembly while the installer aligns the holes on the hub itself with the lug openings of the wheel. Last, lug bolts are installed, which pass through the wheel and thread into the hub assembly to fasten things. Other auto manufactures actually press semi-permanent wheel studs into the hub assembly upon initial production of the vehicle, and these wheel studs protrude out like fingers. Once a wheel slides over the studs into position, lug nuts are fastened onto each of the wheel studs to secure the wheel to the vehicle. Both types of wheel hardware are effective and safe to the end user, however enthusiasts with vehicles equipped with traditional style lug bolts often convert to extended wheel studs due to some of the advantages they present. Although vehicles equipped with studs from the factory are pressed into the hub assembly, stud conversion kits allow enthusiasts formerly using traditional lug bolts to semi-permanently thread studs into the hub assembly. These studs are offered in several different lengths, often longer than factory specifications in effort to accommodate aftermarket wheels with different mounting surfaces or the addition of wheel spacers.
Extended stud conversion kits are recommended to a wide range of enthusiasts, from those who enjoy wrenching on their cars, to performance driving enthusiasts using their vehicle for spirited driving, track days, or wheel to wheel racing. They make the wheel installation process extremely simple and efficient as the studs help align and position the wheel to hub, as well as balance the load or weight of the wheel across all the studs. As previously described, traditional lug bolts require the installer to suspend the weight of the wheel and tire while awkwardly lining things up. Simply put, this process takes more time and effort to complete.
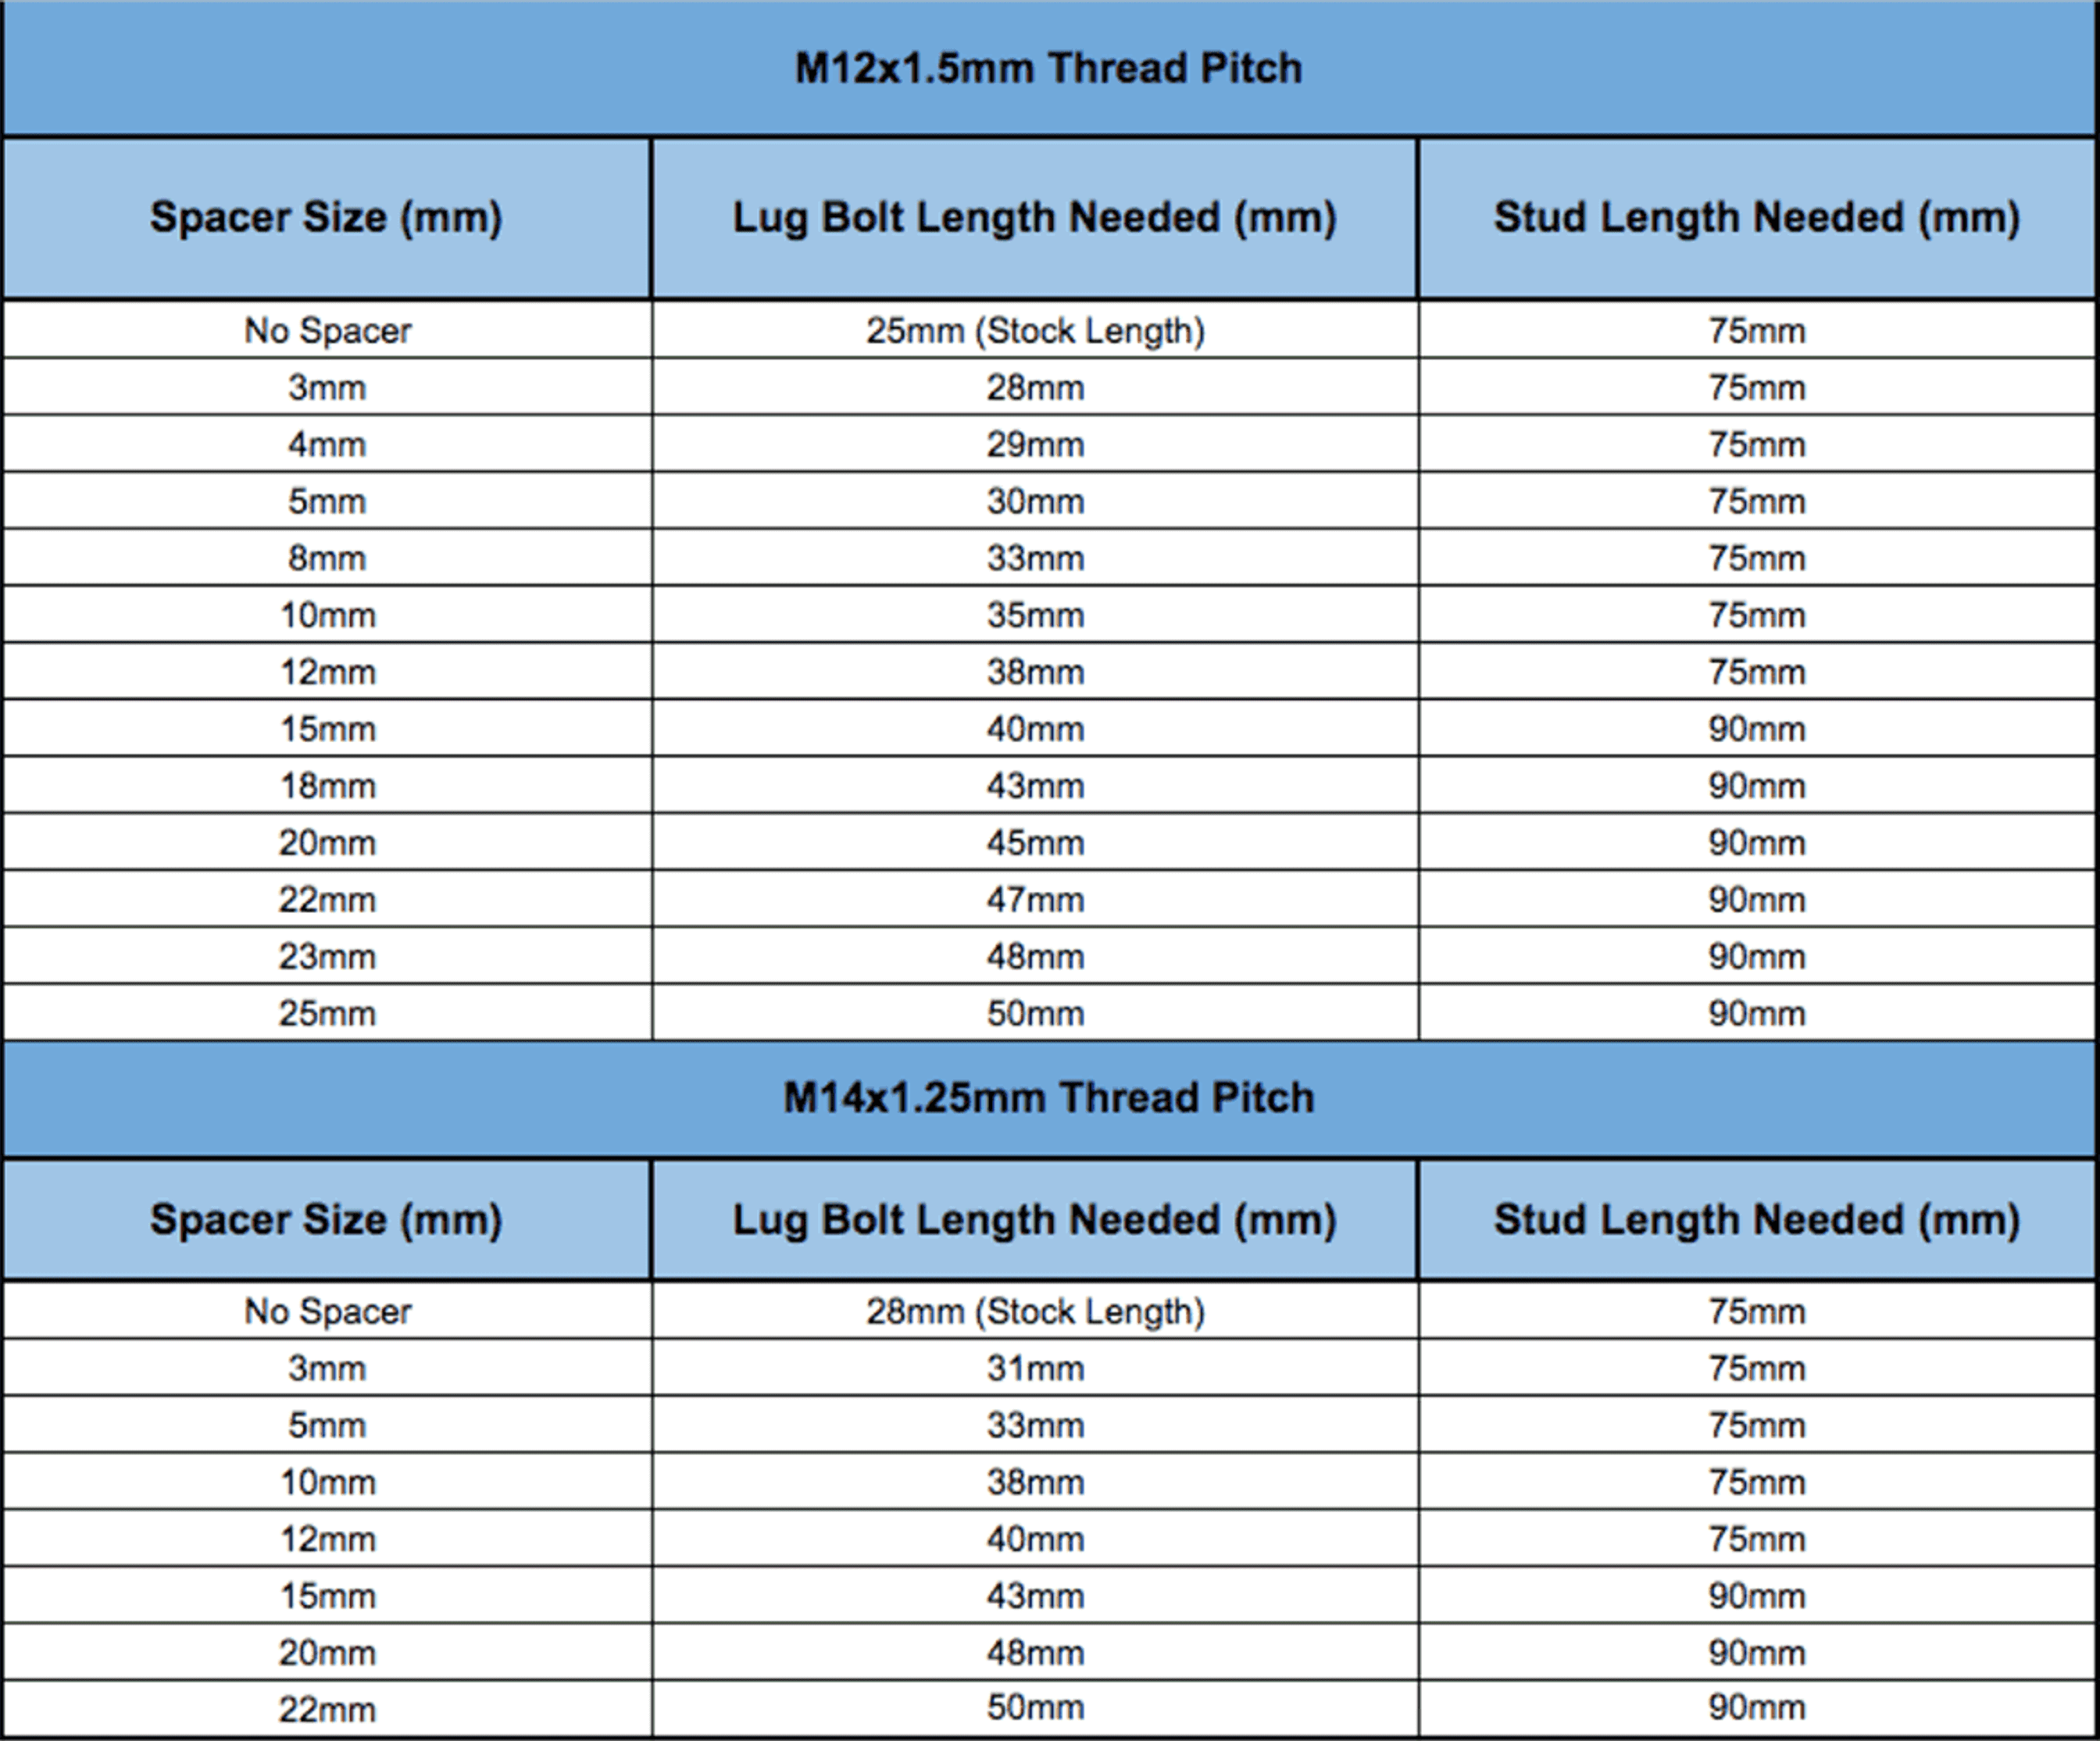
For enthusiasts removing and installing wheels on a frequent basis, wheel studs will also preserve the integrity of your hub assembly where cross threading can occur. Instead of consistently threading lug bolts in and out of the hub each time a wheel comes on or off the vehicle, semi-permanent wheel studs do not need to be removed. Simply remove the lug nuts off of each stud, and the wheel slides off. As previously mentioned, extended wheel studs are also very helpful to enthusiasts installing wheel spacers. All spacers regardless of the thickness will require the use of extended-length hardware, as the lug bolts or wheel studs must now account for the spacers which are essentially sandwiched between the wheel backpad and the hub assembly. With our extended-length studs, you are no longer required to buy a bucket full of various-length lug bolts for use with different size spacers. Our 75mm studs are most commonly used on cars without spacers, or for those installing up to 12mm spacers, while our 90mm studs will support up to 25mm spacers. Below is a quick reference guide showing the proper wheel hardware lengths required in respect to different spacer sizes. This all reinforces how versatile these extended stud kits are for the end user, as they cover quite a bit of ground on the application list.
Table of appropriate stud or lug bolt length per spacer size:
Hex Head vs. Bullet Nose
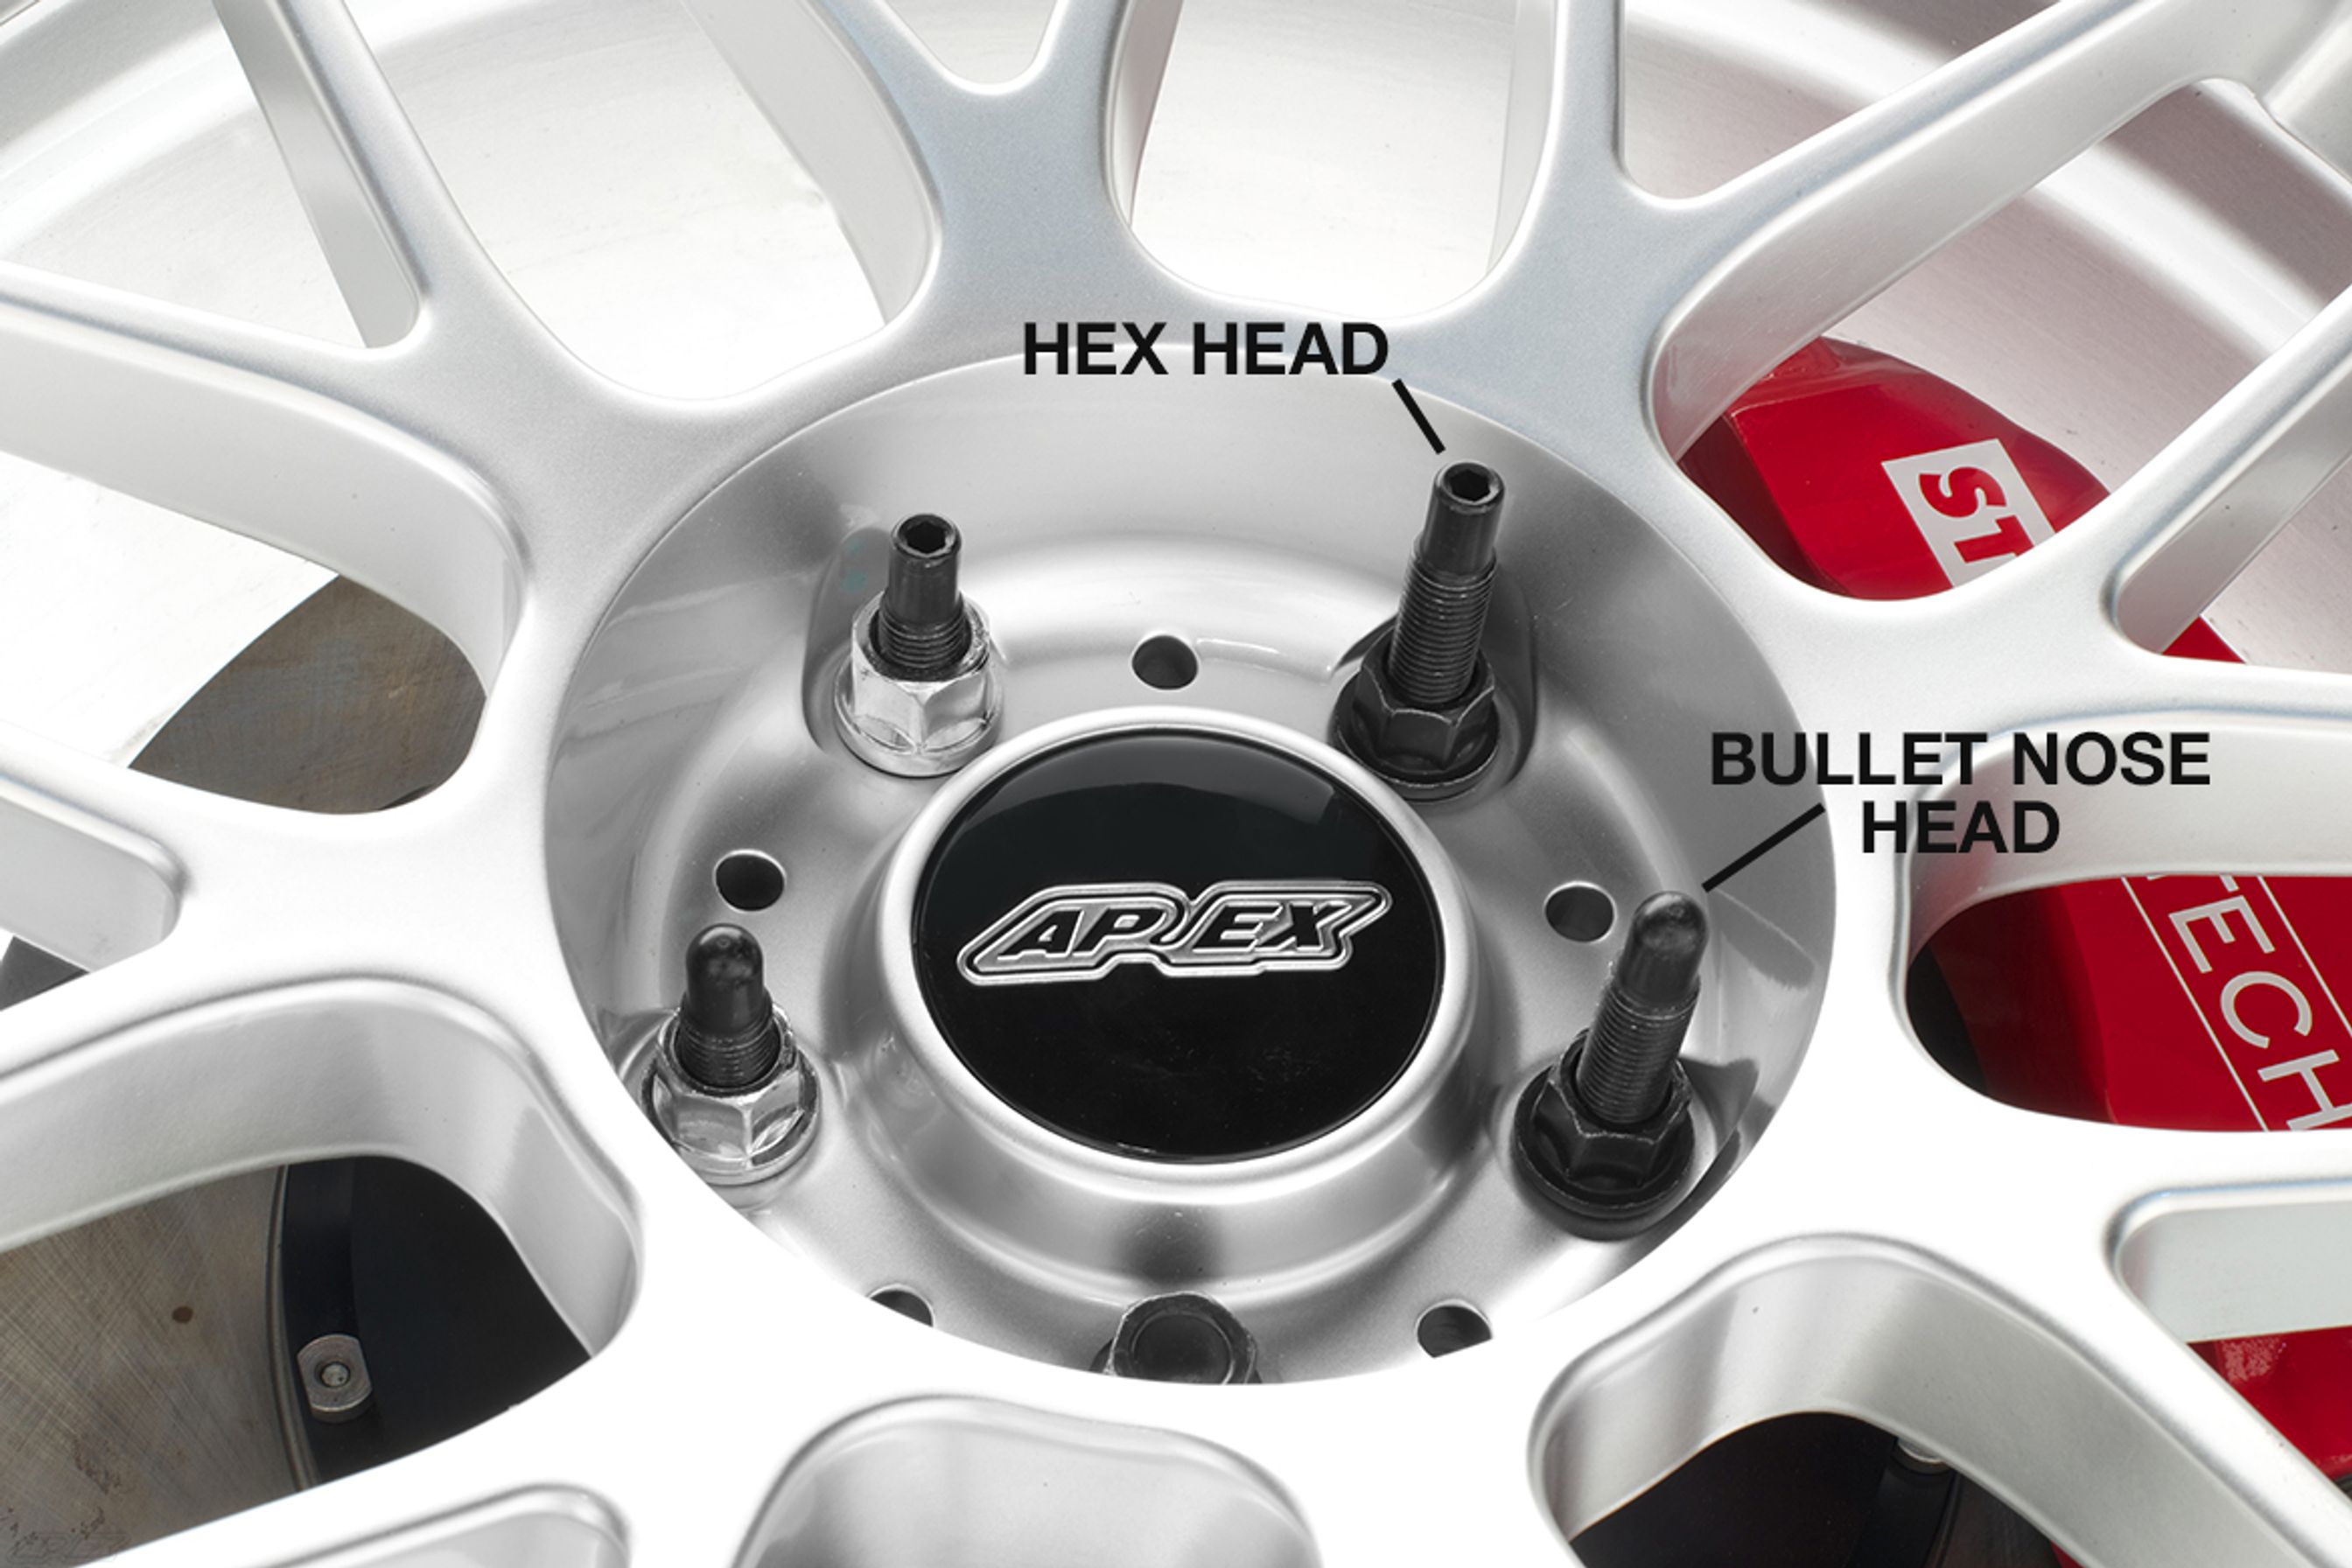
When choosing a stud kit for your application, you will notice there are primarily two types: Hex head, which have a built in 5mm Allen or “hex tip” for a pain free install that can be done in seconds. On the other end of the spectrum we have “Bullet nose” studs. Bullet nose does not refer to the shape of the tip of the stud, but rather the overall design of the threads. Bullet nose directly refers to the tapered threads at the beginning making it virtually impossible to cross-thread, even with an impact gun. This style of stud comes in handy if you’re swapping wheels and tires very frequently. They are an absolute life-saver and a time-saver. At the end of the day, the best choice for your build is the style that best fits your needs. If you plan on mounting and dismounting wheels often, then opt for the bullet nose. If you simply just need something to speed up the wheel mounting process, with a comparatively easy install, hex head will be your best bet.
Wheel Hardware Life Expectancy
Professional racers and track enthusiasts alike must keep their machine in tip top shape, and refreshing wheel hardware is considered very cheap insurance. For peace of mind, competitive racers will replace wheel hardware at the very least once every season, as nobody wants to retire from a race early due to something as lame as compromised wheel hardware. Enthusiasts using their car day-to-day on the street, for the occasional AutoX, or high performance driving events (HPDE) should also look into replacing their hardware at set intervals. Life expectancy will fluctuate based on how often the car is tracked and the type of compounds being used, but on average once every 2 to 3 years is recommended. It is important to keep in mind that track junkies attending high performance driving events (HPDE) often, actually spend more time on track than many competitive racing drivers. For example, some professional level sprint races only last about 45 minutes, which is about one half of the “on track” time seen during a typical HPDE. This extra time that is being spent on track requires more durability out of your hardware, leaving more room for stressors to occur.
The stresses that are put on your wheel hardware can decrease their lifespan. The vibrations and torque the studs are subject to will cause them to come loose, wear unevenly or in some rare cases even snap off completely. Wheel hardware can go through constant forces of varying degrees, this can lead to fatigue on the hardware which will reduce its effectiveness. Even tires can have an impact on the life of the hardware. For example, a car running a standard street tire will have less grip (and force) than an R-Compound tire. Increased grip levels can shorten the life dramatically, as the level of grip increases, so does the force that is put on the hardware.
The key to prolonging the life of your wheel hardware and preventing failures is to use proper operating techniques and implement frequent inspections. Reviewing the integrity of your wheel hardware should become a part of your vehicle checklist, and we recommend checking them as often as you check your tires, fluids, brakes, and bushings. Track enthusiasts should make a point to check hardware during the preparation phase prior to every event. Hardware on your typical street car should be checked every time you perform an oil change, or prior to embarking on a long road trip. It is true that these are not concrete intervals that have been trickled down by auto manufactures, however the important take away here is that all drivers should integrate wheel hardware inspection into their routine overview of their vehicle.
Installation & Best Practices
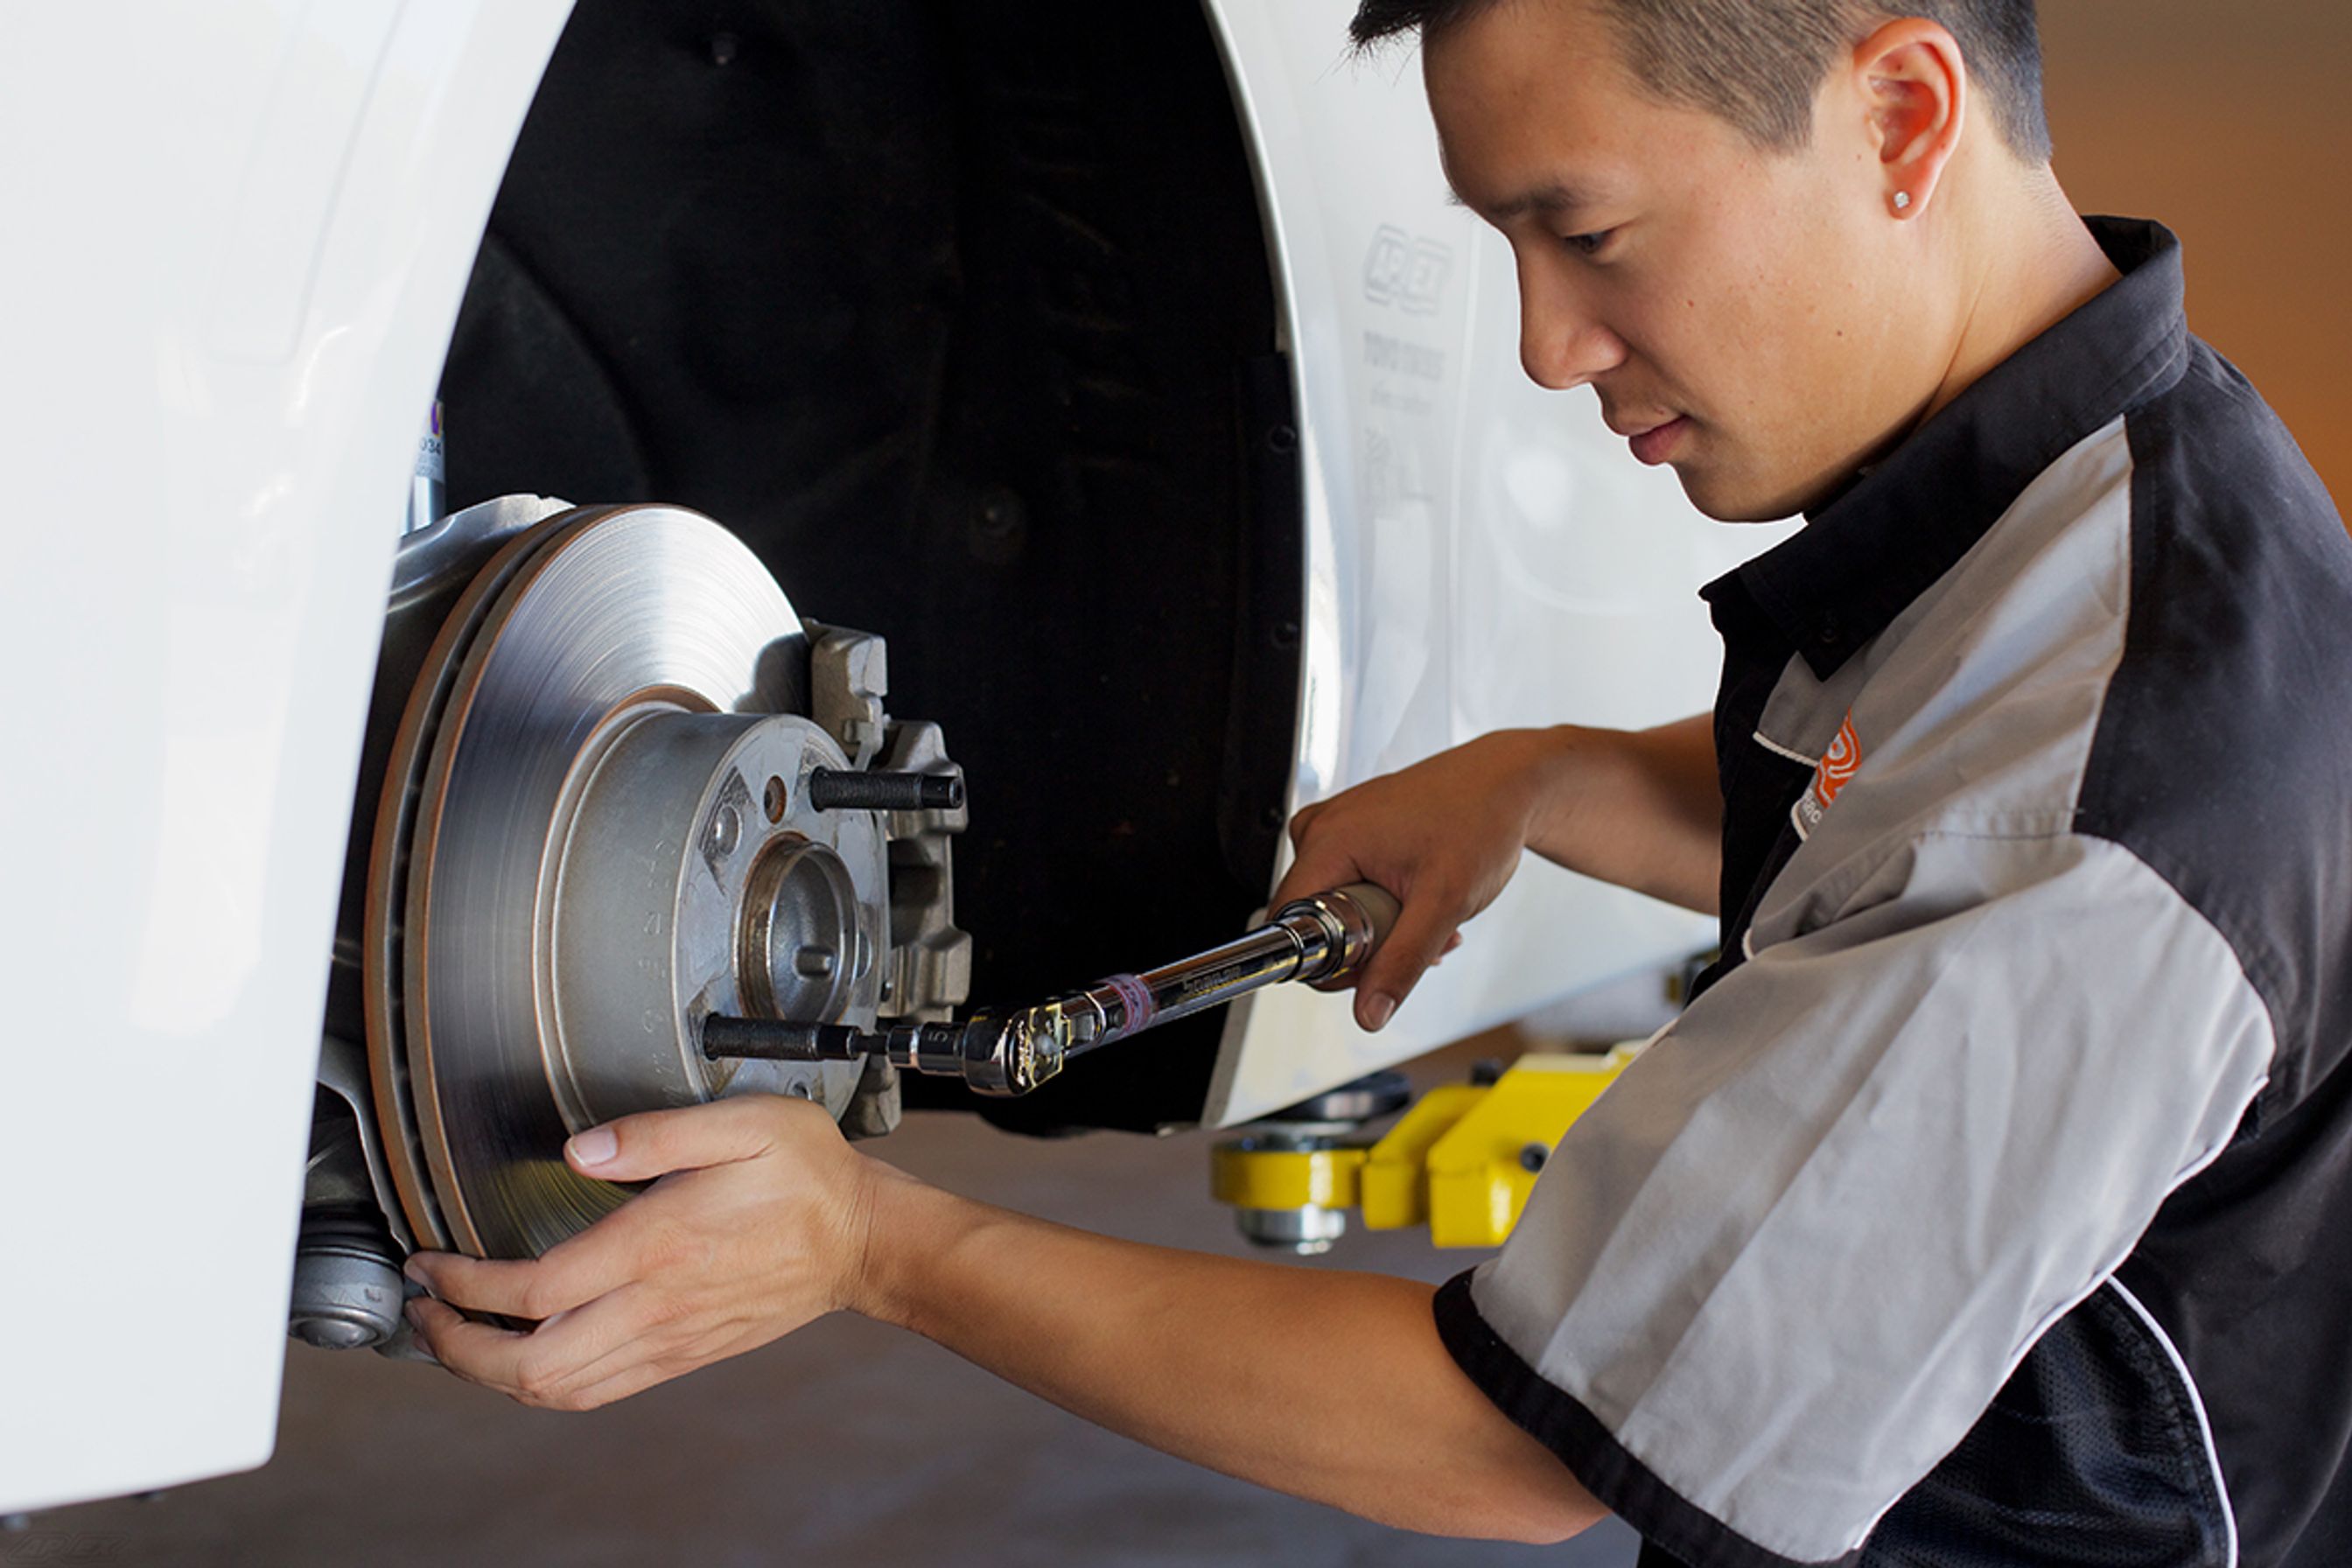
Although failure is somewhat rare in the grand scheme of things, a vast majority of hardware failures come from misuse or incorrect installation. The best way to prevent premature failure is to ensure that wheel hardware is loosened and tightened using the right methods, and always with the correct torque values per the vehicle make, model and year. Far too often we find that tire shops or dealerships with high customer volume embrace the “turn em and burn em” attitude and have drastically over torqued wheel hardware by using impact guns to expedite the mounting process. This is one of the most common ways stress risers occur as the wheel hardware is essentially being stretched in the process. Keep in mind, failure may not be immediate and obvious. Improper operating techniques leading to stress risers or stress fractures may not rear its ugly head until the next time you are putting the car through its paces and counting on them most, which is why we suggest scanning over your hardware prior to each HPDE or race.
Installation of the APEX stud kit is very straight forward, however we have included helpful links below to reinforce the process and prevent common mistakes. Not only is it imperative to install wheel hardware properly, we always recommend “breaking” lug nuts or lug bolts loose with a breaker bar prior to using your tool of choice for removing the hardware entirely. The first two links we have included are a set of videos that will show you the proper step-by-step installation instructions for both our “Hex Head” and “Bullet Nose” stud kits. These are great visual guides and have some extra tips thrown in to help you during the process of a stud kit installation.
Bullet Nose Installation Video
Hex Head Installation Video
We have also included a downloadable PDF version of our install guide which can be printed out and brought out to your garage or to the shop of your choice to ensure that your stud kit is being installed properly:
Click here to download our PDF installation guide.
 Brandon Kimbell
Brandon is a Porsche Fitment Expert at APEX Wheels. Prior to joining APEX in 2022, he worked as Office Manager for a Porsche & Ferrari service and race shop, guiding customers in all areas – suspension, power, aesthetics, you-name-it. His first foray into racing came In college when he was asked to assist at a PCA club race. Says Brandon, “I figured if I am already making the drive, I might as well enter the HPDE happening at the same time.” He hasn't stopped since. Among the various cars he has owned and/or tracked are a ‘74 Corvette Convertible, ’74 Firebird Formula 400, ‘17 GTI, ‘07 Cayman S, and his current ride, a ‘12 Cayman R (BGB X51 pack 3.8L) with staggered APEX EC-7RS 18x9”ET46 & 18x10” ET36 in Motorsport Gold. Fun Fact: Brandon is a big fan of SIM racing, which he uses to learn about a new track he’s going to or get a refresher on a familiar track, as well as improve his racecraft.Have questions about wheels for your Porsche? Use our contact form and ask for Brandon.
If you like cheap gear you will hate this newsletter.
